





Signing a document in Microsoft Word is a lot easier than you might think. Forget the old print-sign-scan routine. You can handle it all digitally, usually in just a couple of minutes, using a couple of common methods: pasting in a picture of your signature or using Word’s own Signature Line feature.
Choosing the Right Word E-Signature Method
So, how do you decide which way to go? It really comes down to what you’re signing. An informal note to your team is a world away from a legally binding contract, and the method you choose should reflect that. Your options range from a quick visual stamp of approval to a highly secure, compliant signature.
For most day-to-day stuff, dropping a picture of your handwritten signature into the document works perfectly. It’s fast, simple, and gets the point across. But if you’re dealing with something a bit more formal—like an official company policy or an internal report—using Word’s built-in Signature Line looks much more professional and clearly marks the document as signed.
This diagram breaks down the progression from a simple, informal signature to a fully secure, executed document.

The main thing to remember is that there’s no single “best” method. It’s all about context. A simple image is fine for casual needs, but formal documents demand a more robust and verifiable solution.
A Quick Comparison
To help you decide at a glance, here’s a quick breakdown of the different approaches we’ll cover.
Choosing Your Word E-Signature Method
| Method | Best For | Ease of Use | Security Level |
|---|---|---|---|
| Image Signature | Informal documents, internal memos, quick approvals. | Very Easy | Low |
| Word’s Signature Line | Formal internal documents, reports, policy sign-offs. | Easy | Low |
| Digital Certificate | Legally significant documents, contracts, verifying identity. | Moderate | High |
| Third-Party Service | Legally binding agreements, notarizations, compliance. | Varies | Very High |
Think of this table as a cheat sheet. Keep your document’s purpose in mind, and you’ll pick the right tool for the job every time.
Why Digital Signatures Are More Important Than Ever
It’s no surprise that digital signing has become standard practice. The global market for digital signatures has skyrocketed, jumping from USD 1.89 billion in 2019 to an estimated USD 9.93 billion by 2024. This isn’t just a trend; it’s a fundamental shift driven by remote work, the need to get things done faster, and solid legal frameworks that recognize electronic records as official. You can find more insights about the expanding e-signature market and what’s driving its growth.
Pro Tip: Before you sign anything, check if the other party has specific requirements. Legal, financial, or government organizations often won’t accept a simple signature image. They’ll likely require a certified digital signature to meet their compliance standards. Always ask first!
This guide will walk you through the practical steps for each of these methods. We’ll cover:
- Inserting a Signature Image: The quickest method for informal documents.
- Using the Signature Line: The built-in option for a more professional touch.
- Applying a Digital Signature: The secure, certificate-based approach for true authenticity.
- Integrating a Compliant Service: The best choice for total compliance, security, and tracking with services like BlueNotary.
Adding a Simple Signature Image
Sometimes, you just need to sign something fast. For informal agreements, internal memos, or any situation where a visual signature is enough, dropping a picture of your signature into the document is the most straightforward way to go. Think of it as the digital version of scribbling your name on a physical piece of paper.
Getting Your Signature Ready
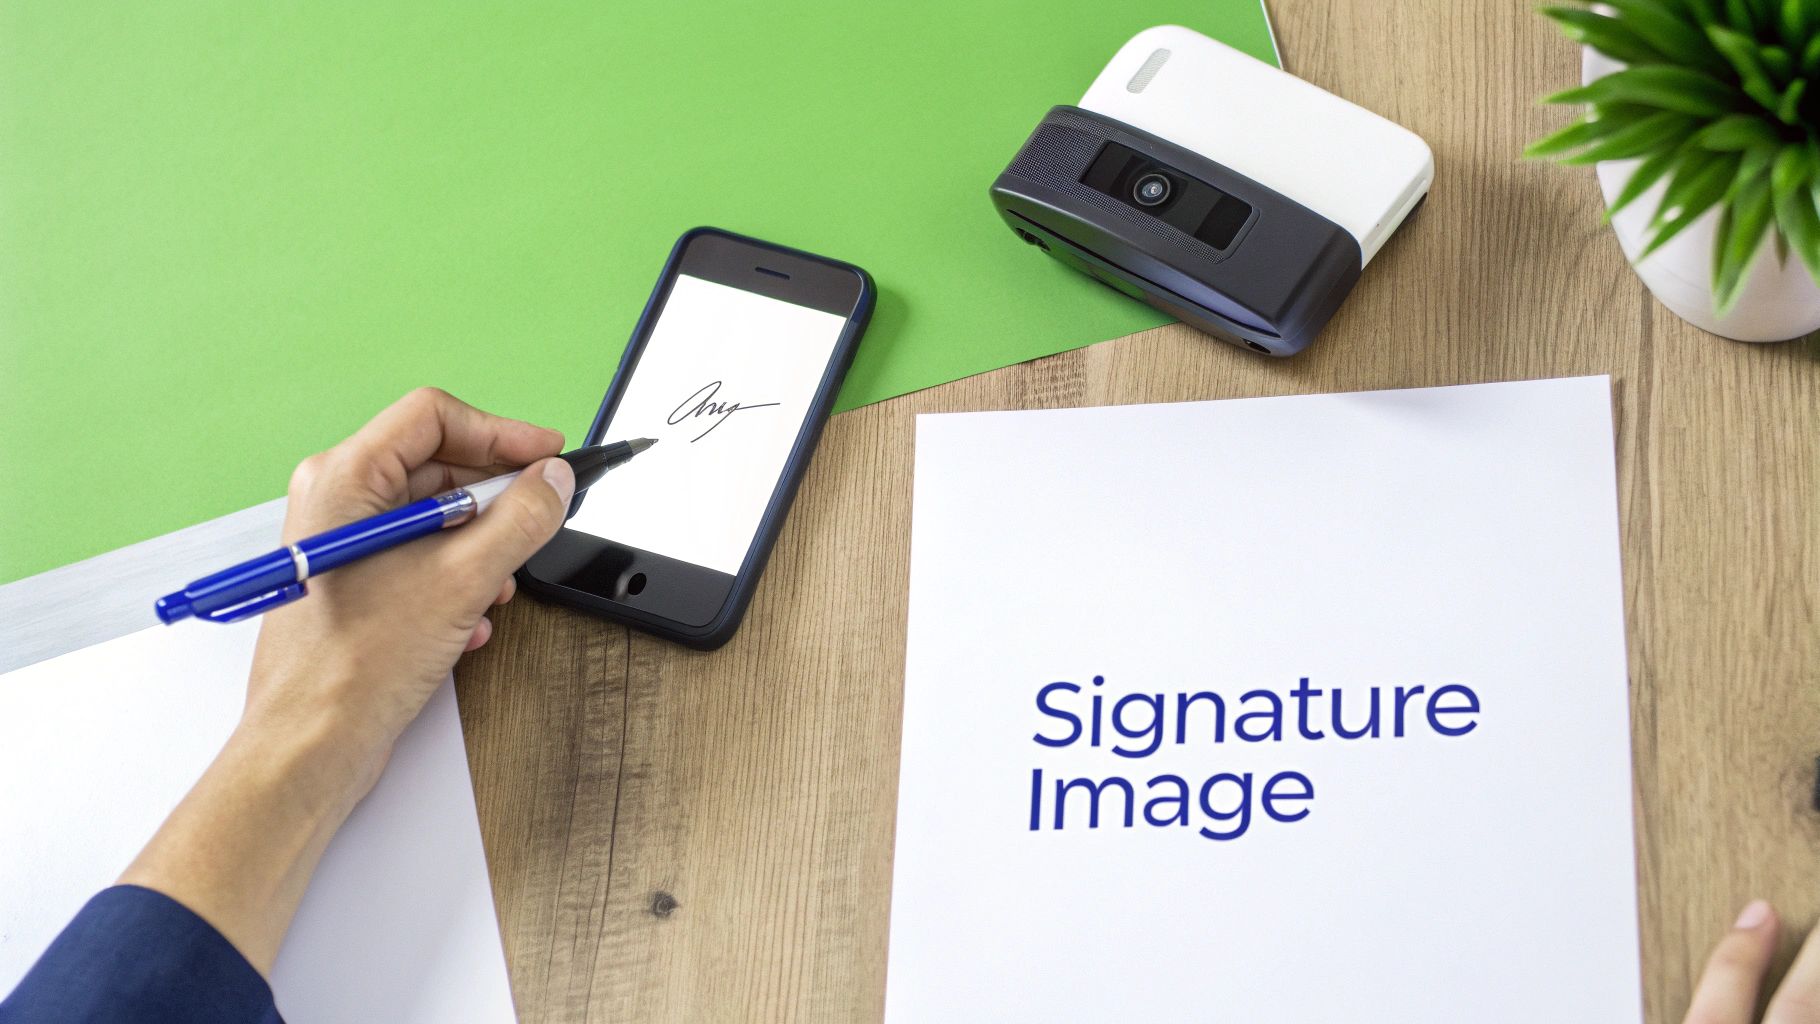
First things first, you need a signature to work with. Grab a clean sheet of white paper and sign your name with a dark pen—black or dark blue works best for contrast.
Once you have a signature you like, it’s time to get it onto your computer. A quick photo with your smartphone will do the trick; just make sure you have good, even lighting without any weird shadows. For a really crisp result, a flatbed scanner is your best bet.
Polishing Your Signature File
Now you have a raw image, but it needs a little cleanup. The goal is a professional-looking signature without a clunky white box around it.
Start by cropping the image tightly around your signature to get rid of all that extra white space. The next—and most important—step is to make the background transparent. Most image editing software, even the basic tools built into Windows and Mac, can handle this.
When you’re ready to save, make sure you choose the PNG (.png) format. This is a non-negotiable step. Unlike JPEGs, PNGs support transparency, which lets your signature sit neatly on top of text or a signature line. If you’d rather not use your own handwriting, you can always create a slick, typed version with an online signature generator.
Placing the Image in Your Word Document
With your signature file saved and ready, adding it to your document is a breeze. Just click your cursor exactly where you want the signature to appear.
This screenshot from Microsoft shows just how simple the menu path is.
It all starts in the Insert tab on Word’s main ribbon.
- Go to the Insert tab.
- Click Pictures and then select This Device.
- Find where you saved your signature PNG file, select it, and hit Insert.
Your signature will pop into the document, but it probably won’t be the right size or in the right spot. Click on the image and use the little handles in the corners to resize it.
To get the placement just right, right-click the image, hover over Wrap Text, and choose In Front of Text. This setting lets you drag and drop your signature anywhere on the page, so you can position it perfectly over a typed name or dotted line.
Expert Tip: Save your final transparent PNG signature in a folder you can easily find. This makes it a reusable digital asset, saving you from having to repeat these steps every time you need to sign a less formal document in Word.
Using Word’s Built-In Signature Line
Sometimes, just dropping a picture of your signature into a document feels a bit too casual. For those moments, Microsoft Word has a built-in feature that offers a more professional touch: the Signature Line. This tool creates a designated, official-looking spot for a signature, adding a layer of formality without getting into the weeds of digital certificates.
This method is my go-to for internal business documents. It’s perfect for things like policy acknowledgements, internal purchase order approvals, or reports that need a manager’s sign-off. It clearly communicates, “Your signature is required here,” in a way an image just can’t.
Setting Up Your Signature Line
Adding a signature line is straightforward and built right into Word’s main ribbon—no add-ins needed.
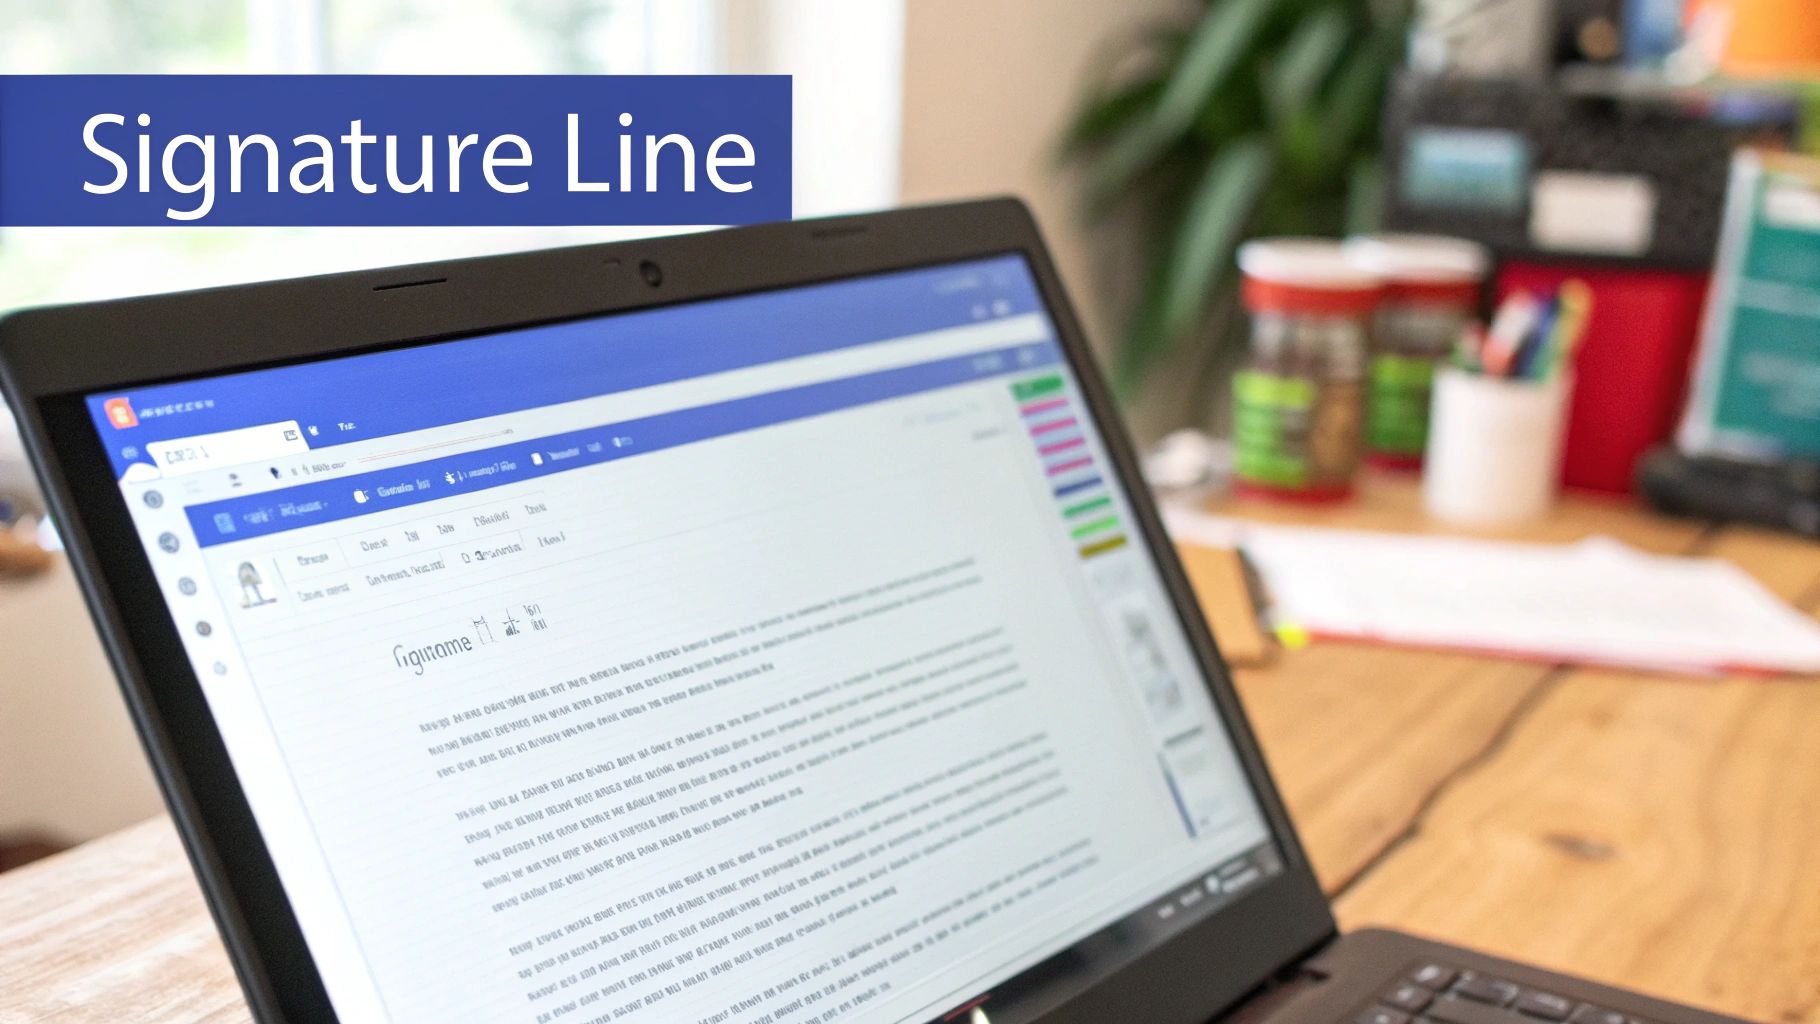
Start by placing your cursor exactly where you want the signature field to appear in the document. Head over to the Insert tab and look for the Text group. In there, you’ll see the Signature Line button, usually with a small pen icon. Clicking it launches the Signature Setup window.
This is where you’ll define all the details for the signature placeholder. The fields are pretty self-explanatory:
- Suggested signer: The full name of the person who needs to sign. For example, “Jane Rodriguez.”
- Suggested signer’s title: Their job title, like “Marketing Director” or “Project Lead.”
- Suggested signer’s e-mail address: This is optional but adds another layer of identification.
- Instructions to the signer: You can leave custom notes here. I often use something like, “Please verify the report details before signing.”
You’ll also see a couple of checkboxes at the bottom. One lets the signer add comments, and the other automatically drops the date in when they sign. Both are handy for keeping a clear record.
What Happens After Setup
Once you click OK, Word inserts a polished signature line right into your document. It displays an “X,” a line for the signature, and the signer’s name and title printed neatly below. It’s a clean, professional placeholder that’s ready for the recipient.
When the signer opens the document, they just have to double-click the signature line. Word will then prompt them to either type their name (which it styles in a cursive font) or select an image of their actual signature. It’s an elegant solution for anyone wondering how to do an e signature on Word for documents that need to look official but aren’t legally binding.
Key Takeaway: Think of Word’s Signature Line as a visual cue. It adds a professional look but lacks the cryptographic security of a true digital signature. It’s fantastic for showing intent and formality in your internal workflows, but it’s not the tool for high-stakes contracts that need legal validation.
Securing Documents with a Digital Signature
When the stakes get high, a simple image of your signature or even Word’s built-in signature line just doesn’t provide enough security. For things like legal agreements, high-value contracts, and official corporate filings, you need irrefutable proof of who signed it and that the document hasn’t been touched since.
This is where a true digital signature comes into play. It’s a completely different beast from a visual e-signature.
Think of it less as a signature and more as a sophisticated, encrypted seal. It cryptographically links a specific person to a specific document at a precise moment in time. If a single comma is changed after that seal is applied, the digital signature breaks, and Word will immediately warn you that the document has been tampered with.
First, You Need a Digital Certificate
Before you can apply a digital signature, you need a digital certificate. You can’t just create one yourself; it has to be issued by a trusted third party called a Certificate Authority (CA).
A CA is like a digital passport office. They don’t just hand out certificates; they put you through a rigorous identity verification process to confirm you are who you claim to be. This is what gives the certificate—and by extension, your digital signature—its legal authority.
Getting one usually looks something like this:
- You’ll start by selecting a reputable CA that offers certificates specifically for document signing.
- Next comes the crucial part: proving your identity. The CA will have a secure process for https://bluenotaryonline.com/identity-verification/ to ensure the certificate is tied to the correct person or entity.
- Once you’re verified, they’ll provide a certificate file. You simply install this on your computer, and it becomes available to programs like Word.
This formal verification is precisely why digital signatures often hold the same legal weight as a wet-ink signature on paper.
Putting Your Digital Signature to Work in Word
With your certificate installed and ready to go, signing your document is straightforward. The process starts out the same way as adding a basic signature line, but the final step is what makes all the difference.
You’ll head to the Insert tab and click on Signature Line. After setting up the signer’s details and placing it where it needs to go, the signer just double-clicks the field.
But instead of typing a name or dropping in an image, a new prompt will appear asking them to choose their digital certificate. Once they select it and click Sign, the cryptographic signature is embedded directly into the document’s code.
The document is instantly marked as final. You’ll see a “Signatures” icon pop up in the bottom status bar, confirming it’s been properly executed.
Key Takeaway: A valid digital signature is your guarantee of document integrity. It proves that the document you’re looking at is the exact same one that was signed, with zero alterations. This is the fundamental security advantage over a simple electronic signature.
How to Check if a Signature is Legit
So, what happens when you’re on the receiving end? Verifying a digital signature is easy.
When you open a digitally signed Word doc, you’ll usually see a notification banner right at the top confirming it contains valid signatures. For a closer look, you can click the “Signatures” icon in the status bar. This opens a panel with all the details: who signed it, which CA issued their certificate, and when it expires.
If Word throws up a warning that a signature is invalid, stop. That’s a huge red flag. It means the document was modified after it was signed, and its contents are no longer trustworthy.
Interestingly, even with this powerful tech, the business world is in a slow transition. Industry analysis reveals that while 60-80% of companies use some form of e-signature, a solid 20-40% still cling to paper-based workflows. It’s a clear sign that while the shift is happening, old habits die hard.
Integrating Third-Party E-Signature Services
While Word’s built-in tools can get the job done for quick internal approvals, they just don’t cut it for important, legally binding agreements. When the stakes are high, you need something more powerful. For airtight security, legal compliance, and a clear record of who signed what and when, a dedicated e-signature platform is the gold standard.
These platforms are specifically designed to meet strict legal frameworks like the ESIGN Act and UETA in the U.S. These laws are what give electronic signatures their legal weight, making them equivalent to a wet ink signature. A proper e-sign service doesn’t just slap an image on a page; it meticulously documents the entire signing event, creating a record that holds up in court.
Why a Dedicated Platform Makes All the Difference
Moving to a specialized service isn’t just a security upgrade—it’s about providing a professional, smooth signing experience for your clients, partners, and employees. These platforms give you a degree of control and visibility that Word’s native features simply can’t offer.
The biggest advantage is the audit trail. This isn’t just a simple log; it’s a comprehensive, chronological record of every touchpoint with your document.
- It shows who viewed the document and the exact moment they opened it.
- It captures the IP address and general location of each person who accesses it.
- It timestamps every single signature event down to the second.
- It concludes with a final, tamper-evident certificate that locks the document and proves its integrity.
This detailed history provides irrefutable proof of the signing process, which can be invaluable if a contract’s validity is ever challenged. For businesses that want to weave this into their broader operations, looking into document automation software can provide end-to-end solutions that manage everything from creation to signing.
How to Install and Use a Word Add-In
Most reputable e-signature services, like BlueNotary, DocuSign, or Adobe Sign, integrate directly into Microsoft Word via an “add-in.” Think of it as a small plugin that brings the platform’s power right into your Word interface, so you can manage the entire signing process without ever leaving your document.
Getting set up is incredibly straightforward. You can usually find these add-ins in the Microsoft “AppSource” (sometimes called the Office Store), which you can access right from Word’s Insert tab. Once you’ve installed the add-in and signed into your account, a new task pane will appear right inside Word.
From that new panel, you can do everything:
- Prep the Document: Simply drag and drop fields for signatures, initials, dates, or other information directly onto your document.
- Add Your Signers: Type in the names and email addresses of everyone who needs to sign.
- Send It Off: With one click, the document is sent out for signature through the platform’s secure system.
Recipients get an email with a unique, secure link to the document. The best part? They don’t need to own Word or install any software. They can sign from any web browser on any device, making the process dead simple for them. We cover the full esignature workflow in our in-depth guide if you want to see the entire process.
Key Insight: Using a third-party service effectively outsources the complex burden of compliance and security to an expert provider. It’s the smart move for any business handling client contracts, financial agreements, or any document that needs to be legally sound. This protects your organization and gives your clients peace of mind.
Common Questions About E-Signatures in Word
When you first start working with e-signatures in Word, a few questions always come up. Is just pasting in a picture of my signature legally sound? Will this work the same way on my Mac? And what the heck do I do if my signature looks all wrong? Let’s clear up these common sticking points so you can sign with confidence.
The elephant in the room is always about legality. It’s really important to get this right, because not all e-signatures are created equal in a legal sense.
Are E-Signatures in Word Legally Binding?
This is the million-dollar question, and the answer isn’t a simple yes or no. It really hinges on which kind of signature you’re using in Word.
If you just copy and paste an image of your signature, the answer is generally no, it’s not considered legally binding for anything important. While it might show you intended to sign, it offers zero security. There’s no audit trail, no way to prove who actually added it, and no way to tell if the document was changed afterward.
The story gets better with the other methods:
- Word’s Signature Line: This adds a layer of formality, but it still doesn’t have the cryptographic security to hold up in court for major agreements. It’s a step up, but not a big one.
- Digital Signatures (with a Certificate): Now we’re talking. These are much more robust. Since a trusted Certificate Authority issues them, they create a digital seal that shows if the document has been tampered with. This carries real legal weight.
- Third-Party Services: This is the gold standard for a reason. Platforms like BlueNotary are built from the ground up to comply with regulations like the ESIGN Act. They provide a full, verifiable audit trail that makes the signature legally sound and defensible.
For any contract or document involving real legal or financial stakes, using a simple signature image is a huge risk. You should always use a compliant, third-party platform to ensure everyone involved is legally protected.
Does This Process Work on a Mac?
Yes, absolutely. The core steps for adding a signature in Word—whether you’re inserting an image or using the Signature Line feature—are nearly identical for Mac and Windows users. Microsoft has done a good job of keeping the experience consistent.
The one area where things diverge is with digital certificates. MacOS manages these through its native Keychain Access app, which is a different system than what Windows uses. So, while the principle is the same, the actual setup and management of your digital ID will follow a Mac-specific path. That said, most third-party add-ins work perfectly on both platforms.
Troubleshooting Common Signature Issues
It’s not uncommon to hit a snag. If your signature isn’t behaving, it’s usually one of two things.
First, check the image file. Is there a big white box around your signature? That’s a classic sign you didn’t save it correctly. You need to save it as a transparent PNG file. Just pop back into your image editor, make sure the background is truly transparent (not just white), and save it again.
The other frequent headache is positioning. If you can’t drag the signature exactly where you need it, right-click the image, find the Wrap Text option, and choose In Front of Text. This essentially “floats” the image on top of the document, letting you place it anywhere you want without the text pushing it around.
For workflows that demand ironclad security, compliance, and a frictionless experience for signers, Word’s built-in tools can only take you so far. BlueNotary offers a complete solution designed for the demands of legal and enterprise-level document execution. Learn more at BlueNotary.